Pages

Thursday, May 20, 2010

Faux Souvlaki


Meat + Salad + Sauce + Pita Bread
========================================
A. Meat (30min)
Pork or Beef (Stewed making meat - Cubed ones - 500g)
Soy Sauce (1/4 Cup)
Olive Oil (5 tablesp)
Dried Oregano (1teasp)
Vinegar or Lemon Juice (5 tablesp)
Garlic (Grinded - 3 tablesp)
Jalapeno (Grinded - 1/2 of a Whole)
Onion (Grindend - 1/2 of a Whole)
Green Bell Peppers (Grinded - 2 teasp)
Oyster Sauce (1 tablesp - Optional)
Apple (Grinded - 1/4 of a Whole - Optional)
Grinded Walnut (3 teasp - Optional)
----------------------------------------------------------
1. Cut out the grease from the meat.
2. Wash the meat in water.
3. Put all ingredients with the meat in a bowl and mix them well.
4. Let it stand in the refrigerator for at least one hour so that the spices have time to get into the meat.
5. Put some vegetable oil on the frying pan and heat the frying pan at a high temperature.
6. Once heated, pour the meat from the bowl along with the sauce.
7. Put a pot-lid or an (aluminium) foil over the frying pan, so all meat is well covered.
8. After 3mins, lower the heat to medium.
9. Stir from time to time. And once there is almost no sauce left, close the heat to serve.


Mine is Pork!

I didn't have any jus left in the fridge.. so I'd to replace it with milk. Hah!


Sgil.Cat


========================================

B. Salad (12 min)
Lettuce (5 leaves)
Tomato (1/2 of a Whole)
Cucumber (75g)
Green Bell Peppers (30g)
Parmesan (1 teaspoon - Shredded - Optional)
----------------------------------------------------------
1. Rinse the lettuce leaves, tomatoes and cucumbers.
2. Rip the lettuce leaves into halves and cut them.
3. Slice the tomato, green bell pepper and cucumber and serve place all the vegetables on a plate to serve.


* The key is in the freshness of the vegetables.

========================================

C. Sauce (12min)
Plain Yogurt (without sugar - 100g)
Mayonnaise (light - 50g) - * light mayo is softer than the regular one
Garlic or more (Grinded - + 5 pieces)
Onion (Grinded - + 1/4 of a Whole)
Cucumber (Grinded - 100g)
----------------------------------------------------------
1. Wash the cucumber.
2. Peel the pieces of garlic and onions.
3. Grind the garlic, onion and cucumber all together.
4. Put plain yogurt and mayo in a bowl.
5. Pour the grinded vegetables (from 4) into the bowl.
6. Mix all ingredients together (from 4 and 5).

========================================
D. Pita Bread (Cooking Time: +4h)
If you want soft pita breads, buy the white ones at the grocery store.
If you want to eat healthier, buy the whole wheat pita breads.
If you have some time by your side, make your own as follows:
Flour (3 Cups)
Flour for kneading (-1 Cup)
Salt (+1 teaspoon)
Warm water (1/2 Cup - yeast)
Warm water (1 cup - Flour)
Sugar (1teaspoon)
Olive Oil (3 tablespoons)
----------------------------------------------------------
1. Put yeast and sugar in a small bowl.
2. Warm water (1/2 cup).
(Note: If you cannot put your finger into the water, water is too hot. And if water is too hot, yeast might die and the pita breads may not rise.)
3. Pour the warm water (from 2) into the small bowl with yeast and sugar and mix the ingredients all together.
4. Put it aside for about +10 mins.
5. While waiting for the yeast to rise, put 3 cups of flours and salt in a large bowl.
6. Mix the flour and salt and make a whole in the middle of the bowl.
7. Once 10 min have passed, put the yeast mix into the big bowl with flour and salt. Stir the mix.
8. Now, pour warm water (1 cup) into the big bowl.
9. Once all mixing is done, pour the olive oil into the bowl, where the dough is.
10. Cover the dough with olive oil.
11. Place a cellophane over the large bowl where the dough is, and put away the bowl into the warm place.
(I'd put the bowl and then a bit of water beneath, around the bowl, and keep the casserole warm for 3 hours.)
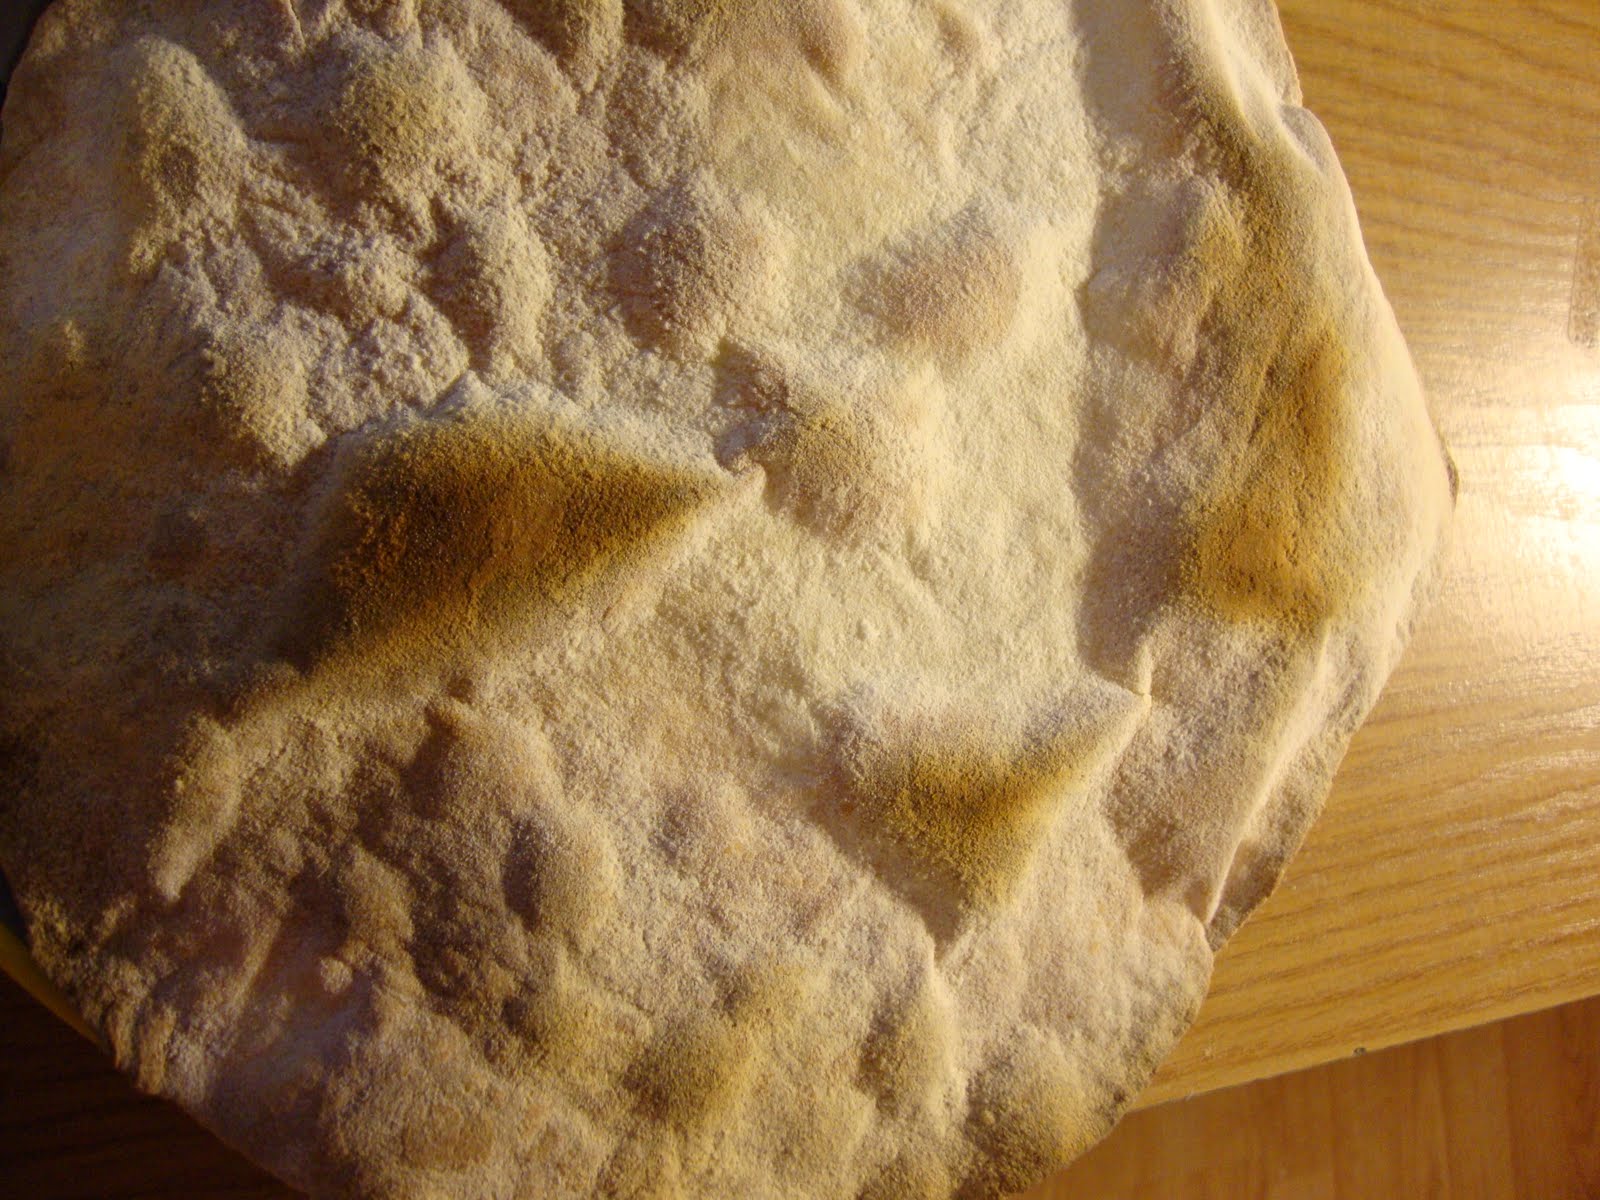
12. When the dough has risen, take it out and add flour until the dough does not stick anymore.
13. Cut the dough with your hand into many smaller balls of dough so that one dough can form one pita.
14. Let the small balls sit in a warm place to rise for 10 min.
15. Preheat the oven to 450 degrees.
16. Flatten the small balls of dough.
17. Place the cookie sheet on the pan or grease the pan with vegetable oil at each time.
18. Put the flat uncooked pita and cook each side for 3 to 4 min.
(E.g.: One pita consumes 6 to 8 min each.)
----------------------------------------------------------
The recipe is from Dede's website:


There is an excellent video of Dede making the Pita Bread in the above website; so, it's worth visiting Dede's website especially if it is your first time making a pita bread!
----------------------------------------------------------
Notes

The only thing I'd change is the amount of yeast. On her website, it states 7 grams. But I found my pita breads, smelling a bit of yeast for having too much yeast in them.


I ended up having about 10 pita breads. I burnt one!.. haha. So be careful! Depending on the thickness of your bread 4 mins in the heat might burn your bread. The site recommends 450 degrees. Mine came out too crispy. If that also happens to your pita breads, I'd recommend to put the pita breads while they are hot in a bag, so that they become moist again. Another option is once the pita breads had more or less cooled down, put them in a bag with 2 pieces of kitchen towers. The next day, the pita breads will be moist again.
========================================
Now, serve all together!
Enjoy!


Friday, February 19, 2010

Sumo Ramen

It was a sunny day and I passed by Chinatown for a commission. I was hungry, so I decided to stop by a restaurant. There were a huge choice and for those who know me I am the kind of undecided person...
Choice : Sumo ramen
1007, boulevard Saint-Laurent
Montreal, Qc
H2Z 1J4
514-940-3668


We were two people. We ordered :
1) Lamb ramen with soy sauce (you can choose between soy sauce or miso sauce for your broth).
Price : 9.95$


2) Unagi rice (eel rice) which came with a salad and a miso soup.
Price : 11.95$


Comments :
There were 2 waiters, both of them are kind. Nothing special to comment about.
The ramen broth was normal, not a particular flavor and taste that make you want to come back. The noodles had a good texture : chewy not overcooked, but no taste.
The fish meat was fond and the sauce was not overly sweet as you can have in other Japanese restaurant. But as I said nothing special.
Overall : Not really recommended, normal restaurant, nothing impressive, pricey for what we got. I will not go back. Tried once and it was enough.


Rate :
Food 3/5
Service 3/5
Price/quality 2/5
Overall 8/15


~V.Cat~

Tuesday, February 16, 2010

Hummus

What can you do with a lonely can of chick peas at the bottom of your pantry? Hummus! It is a very healthy dip or spread. Yes! You can use it instead of mayonnaise or mustard in your sandwich or you can serve it as a dip for radish, carrots, cherry tomatoes, celery...
Very easy to do. It was done within 30 minutes cleaning included.

Hummus (~V style~) :
- 1 can of 290mL chickpeas, rinsed (bio, low sodium, whatever you have on hand)
- 2 Tbsp tahini (sesame paste)
- 150 mL water
- 1 ½ lemon (for the juice)
- 3-4 cloves of garlic
- salt and black pepper to taste
- cumin and paprika grounded for a little plus (optional)
- olive oil (if you want, but I omit it)

Method :
Just one step! Put everything in a blender or food processor and press the magic button.
There you go! Enjoy.

Attention! It can be addictive :P

Notes :
1) For the lazy one like me. Please remove the lemon seeds before blending, because I thought leaving some seeds will not be a big deal. But it was, they leave a bitter taste in your hummus yark! So REMOVE THEM!
2) There is a little skin that come with the chickpeas, you can leave it or if you are courageous and want a smoother hummus you can rub the chickpeas in your hand and discard all the little translucent skin.
3) Cleaning tips : Pour warm water and a little dish-washing liquid in the blender or food processor. Blend.

To try :
Heat olive oil then throw some cumin seeds to make them fragant. Pour the olive oil perfumed on the hummus. It sounds so good. If someone tries it, please tell me the result :)

~V.Cat~

Tuesday, February 9, 2010

First recipe!


-->
Woohhoooo!! It is the first recipe that we post on this blog. So we decided to chose something that most of blog reader might like… something sweet and refreshing during this freezing and dark winter. A FRUIT TART! Yeah! (In fact, it is only because we had a pretty picture of a fruit tart that I made few weeks ago hihihi)
Ingredients:
- 150g of «pâte brisée» (you can find it in your grocery store in the frozen section).
- Pastry cream («crème patissière»): 250mL milk, 75g granulated sugar, 30g all-purpose flour, 2 eggs, 2 Tbsp Kirsch (optional) and a pinch of salt.
- Fresh fruits to decorate (strawberries, kiwis, pineapple, sliced peaches in syrup...).
Method:
1) Cook your pâte brisé à blanc in the oven as indicated on the package. (Caution : do not overcook otherwise it will be dry and hard).
2) Meanwhile, prepare your pastry cream:
- Bring the milk to boil with a pinch of salt.
- During this time, whisk eggs yolk and sugar until the mixture becomes paler. Then gradually add the all-purpose flour.
- Gradually, add the boiling milk little by little!!! (you don’t want to make an omelet)
- Pour this mixture back in the same pot as you used to boil your milk. (I don’t like washing more stuff than needed)
- Bring it to boil, but do not stop stirring the bottom of the mixture to prevent burning. (because the mixture will become thicker by the time)
- CAUTION: boil it just for a few moments only.
- Pour the mixture into a bowl cover directly ON the cream and let it cool.
3) By the time, the pâte brisée should be cook. Let it cool.
4) Cut your fruits in slices and it is preferable to chose variety of color. It is more appealing. Be creative, it is the occasion. As for the preparation of pastry cream, you are highly recommended to follow the directions and use the precise quantity ingredients mentioned above.
5) Assemble your tart, my favorite part!
- Cover your cooked pâte brisée with cooled pastry cream.
- Put fruits on it.
- You can put a glaze on it, to make it shine. I did not try this, but it might work: do not waste your peaches syrup, put it in a pot and reduce it on low heat. Then let it cool a bit before pouring delicately and evenly on the fruits or using a brush if you have one.
Easy, no? I do not really like too elaborate stuff that need a lot of hard to find ingredients. I like it fast, easy and delicious.
Notes:
- The amount of sugar in this recipe is just good. The taste will not be overwhelm by the sweet flavor.
- I will post a recipe for pâte brisée in another post, because otherwise there will be too much information.
- I have to say it, I think Pâte sablée for tart might be better :), but pâte brisée was still very good.

~V.Cat~

Sunday, February 7, 2010

A Welcoming Word of the New Blog Cooking Catz!

Seeking for the brightest moments of our days, we have now finally opened a blog to share our greatest joy of our tiny lives! Do you enjoy eating? Are you exhausted from work or school to cook for your beloved ones? Were you surfing around the internet to fetch some awesome Tips on how to cut down some calories while preparing for your delicious meal? Ah, we are your friends you are looking for! Here, on our blog, we talk about anything and everything that surrounds Foods! The admins, the Cooking Catz, adore to Eat, to Cook and to Learn about Foods! Stick around as we will provide you with some great Restaurants choices in our area, which is Montreal, as well as lovely Recipies we'd had tried, and most probably with some great Short Stories about Foods and much much more! And of course, comments will be Extremely appreciated as we love to Read what others have in their mind!


Sgil.Cat

Blog opening !

Hi,


Welcome to my blog!


After surfing hours and hours on other food blogs, I finally decided to create my own blog. YEAH!


Attention! You may find some mistakes in my writing, please be indulgent. Anyway, I am very open if you correct me, so I can improve my English at the same time :)
Also, it will be very interesting if you comment on the posts or send me an e-mail with constructive advices to make the blog more friendly and accessible.


Please enjoy your visit.


~V.Cat~